01
Worker
Open Receipts and tap plus
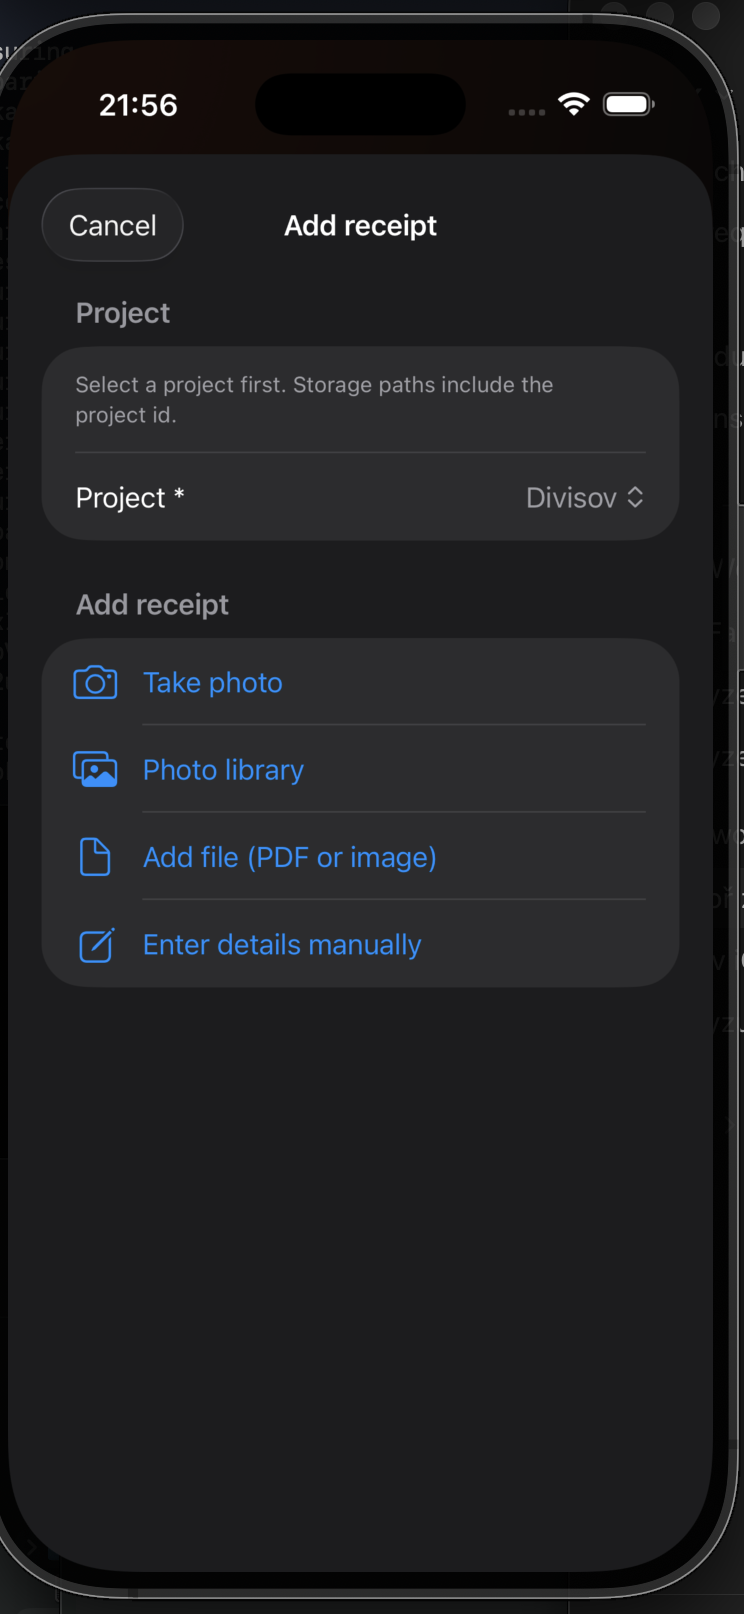
Open the Receipts dashboard and tap plus in the top-right corner. Then choose the project, take a photo, select one from the library, or add a PDF or image file.
This guide is for workers and team leads whose administrator has enabled the Receipts dashboard and granted permission to create receipts. Without that permission, the dashboard or plus button may not be visible.
Open the Receipts dashboard and tap plus in the top-right corner. Then choose the project, take a photo, select one from the library, or add a PDF or image file.
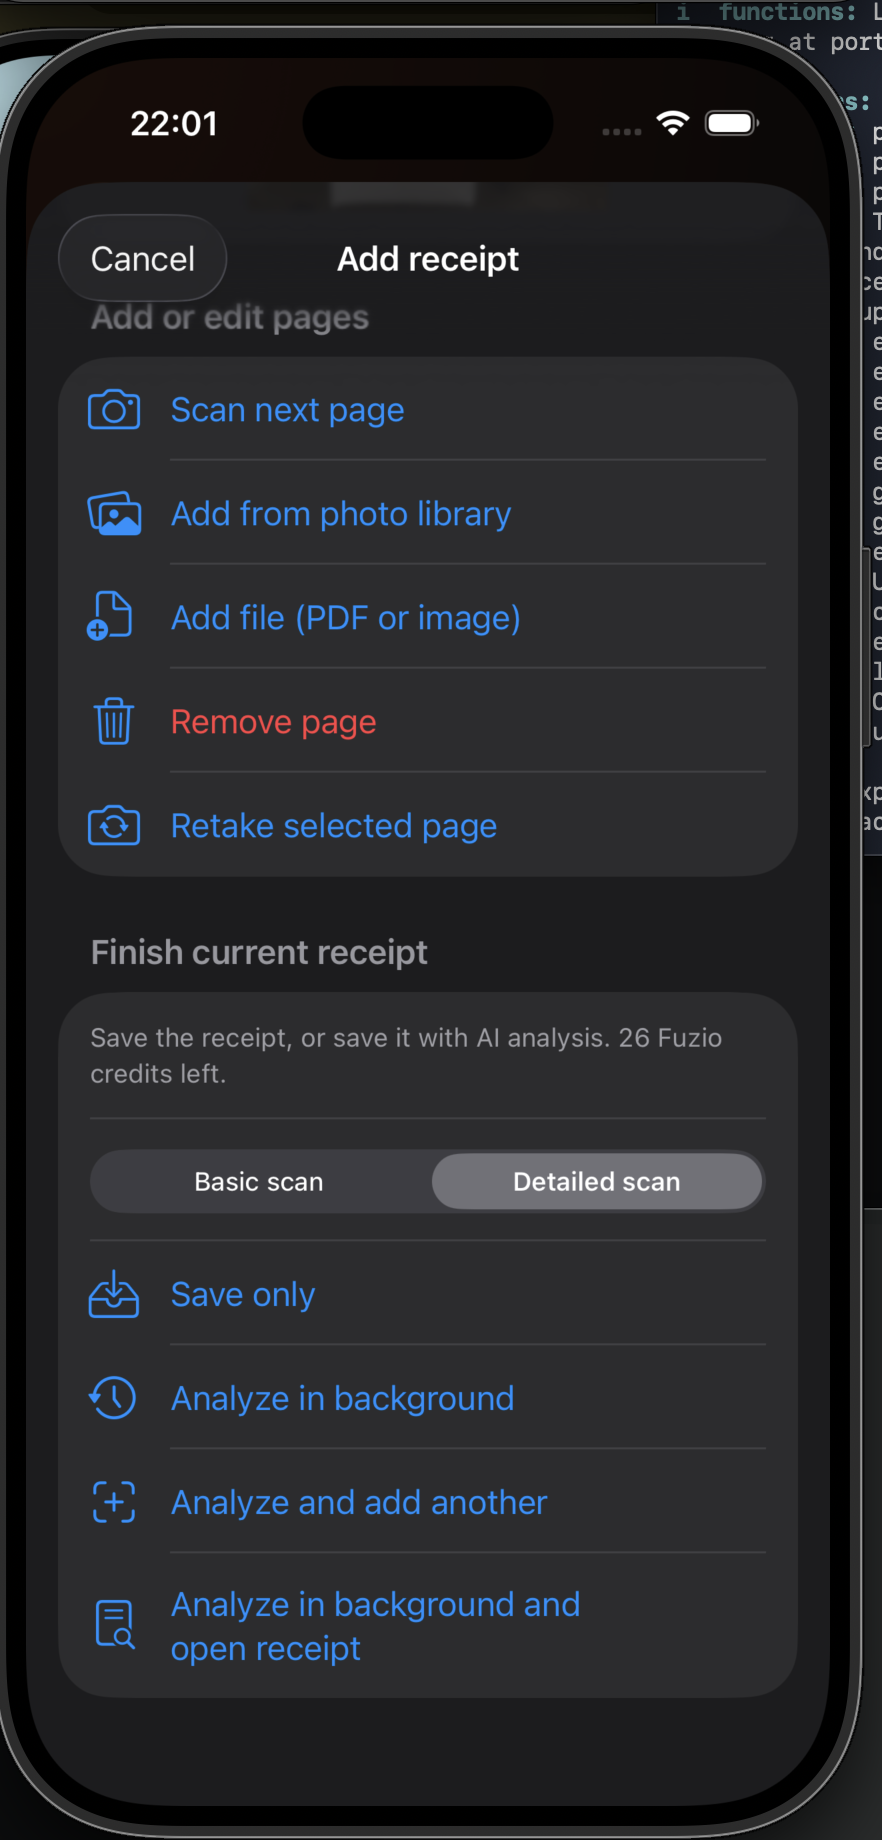
Select Basic or Detailed scan. You can save only, analyze in the background, analyze and add another, or analyze and open the receipt.
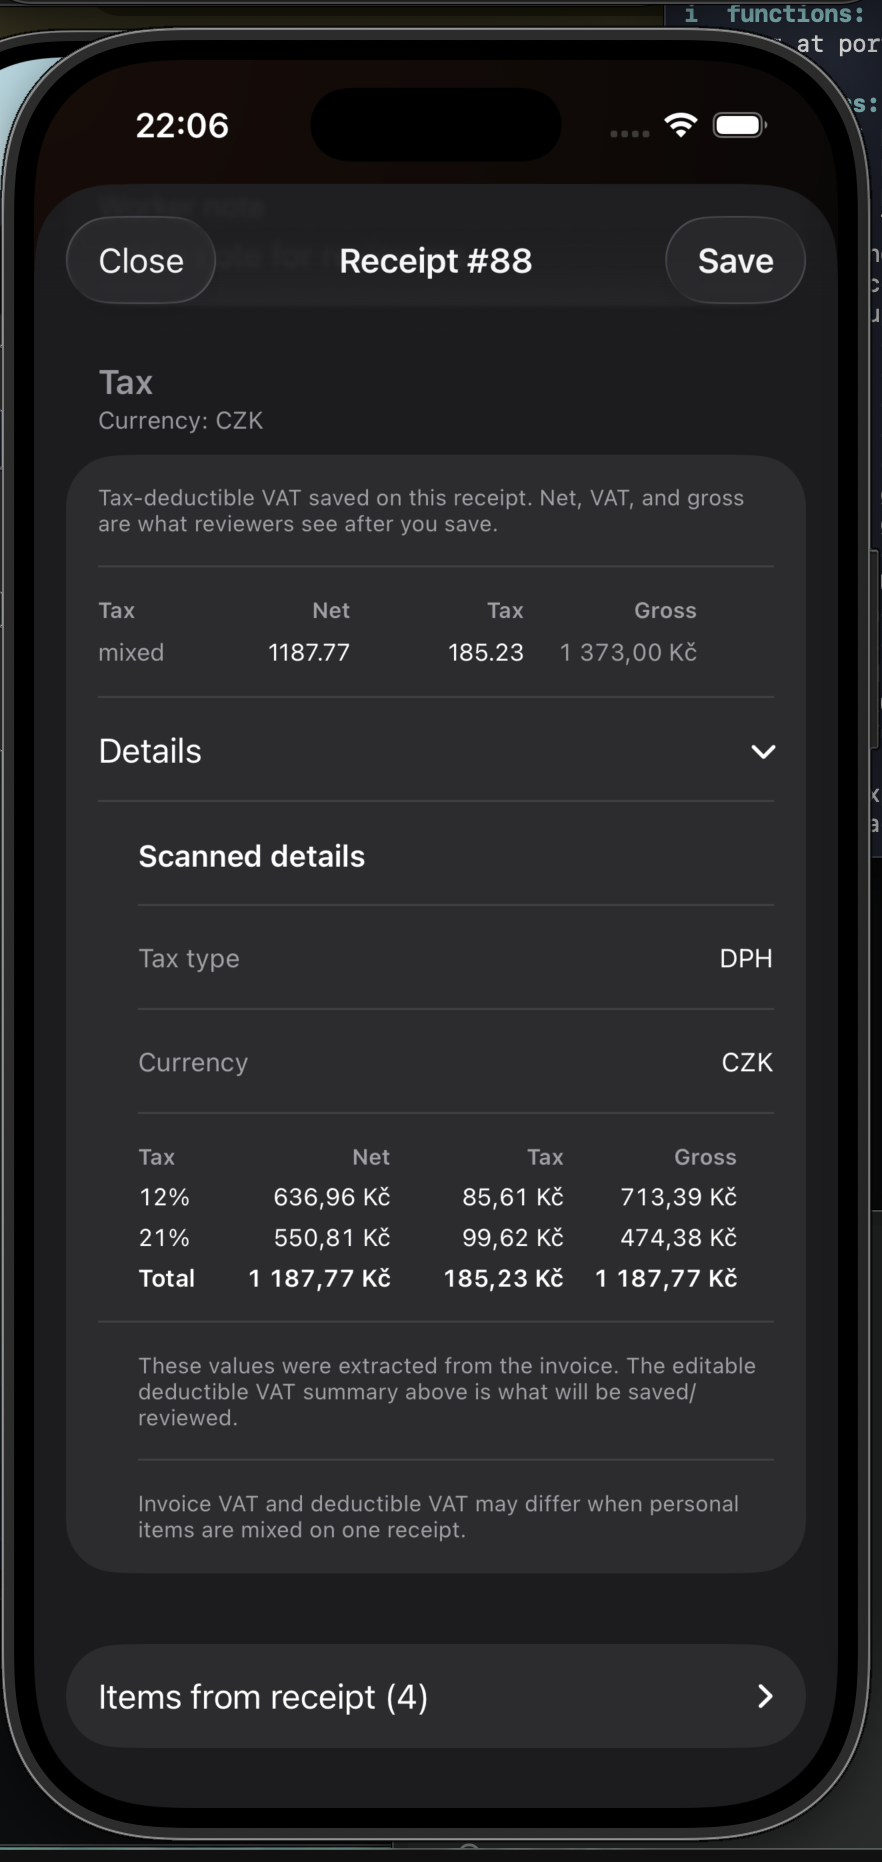
AI recognizes the merchant, total, currency, purchase date and time, category, and project. It also fills the tax summary and rate breakdown, receipt line items, warranty candidates, and suggested hashtags for easier future search.
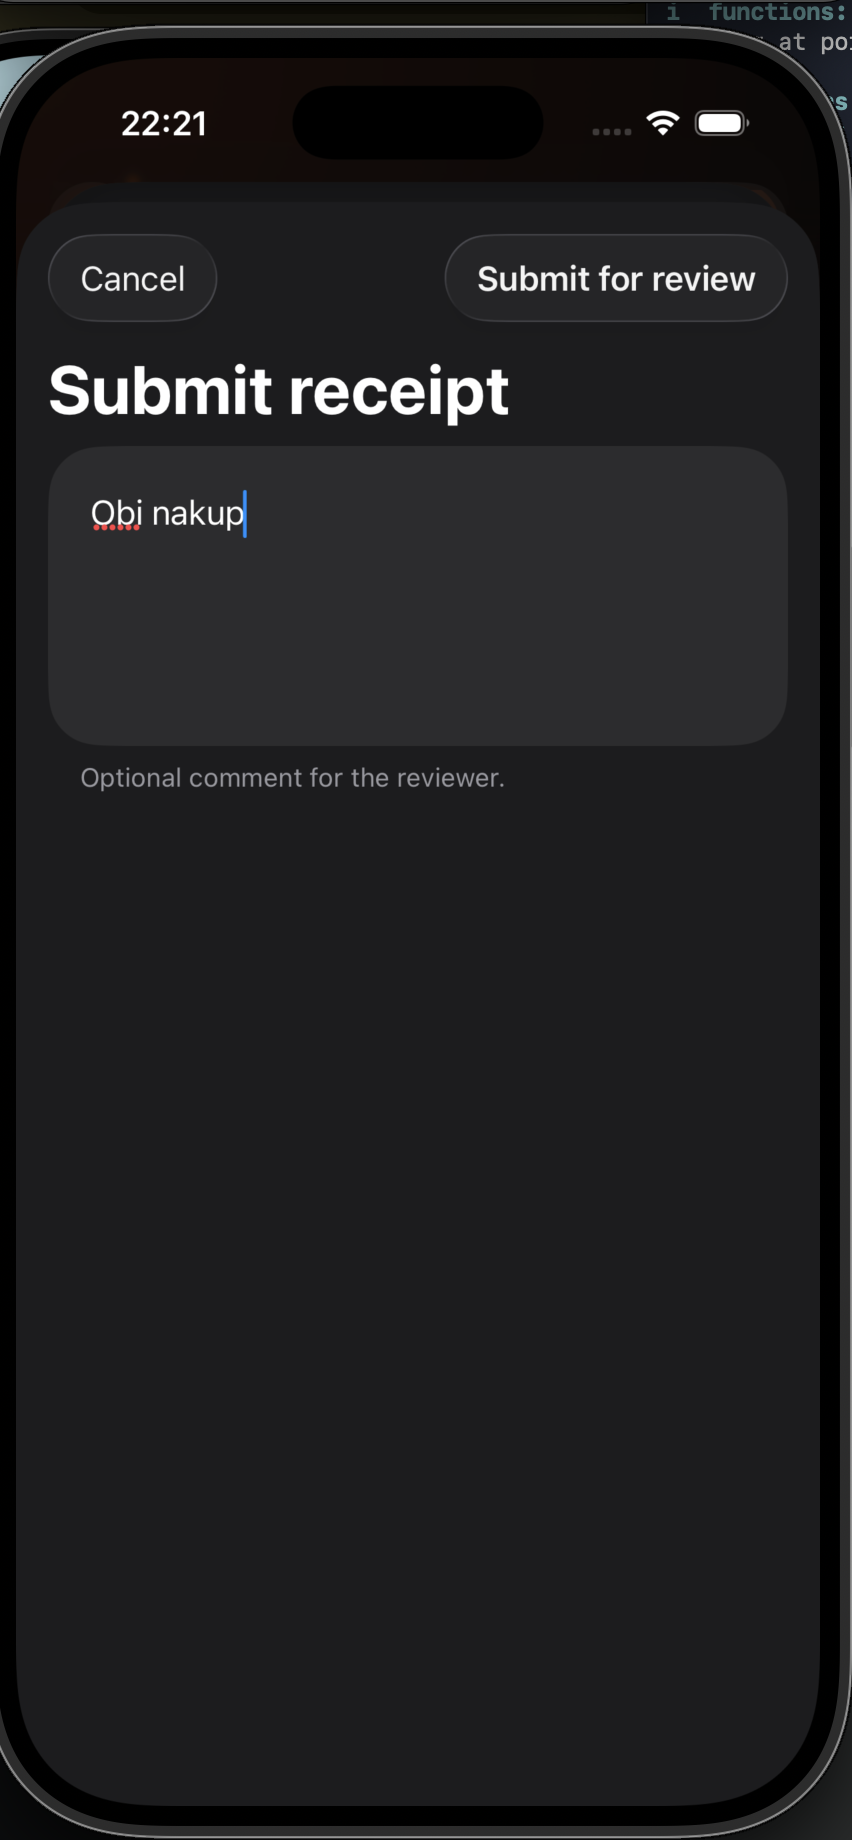
Save unfinished work as a draft, delete an unneeded draft, or submit the receipt to a permitted team lead or administrator for approval. You can add a comment for the reviewer when submitting.